About
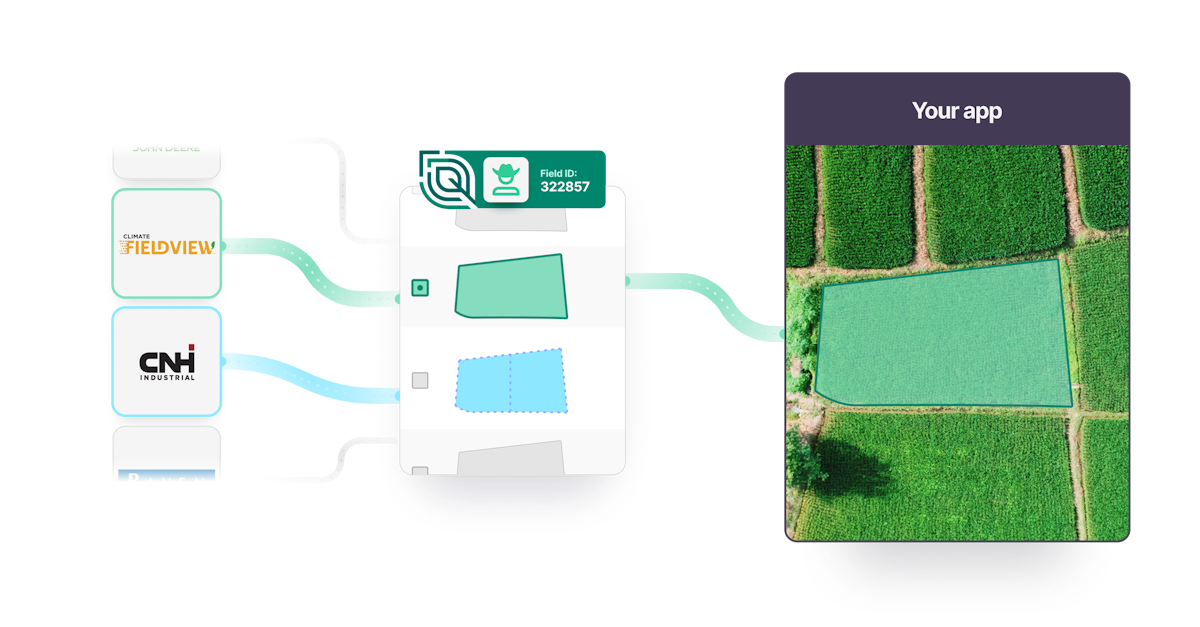
In this tutorial, we will guide you through the steps to getting started with retrieving grower/farm/field data and field boundaries via Leaf’s supported providers.
Why integrate field boundaries through Leaf instead of going direct to providers?
- Increase speed to market by skipping the need to build backend infrastructure
- Provide integrations from many different providers to increase your addressable market
- Less ongoing API maintenance
- Geospatial matching of other data, such as field operations, to boundaries
To learn more about the benefits, click here.
This tutorial covers how to integrate field boundaries from AgLeader, Climate FieldView, CNHi, John Deere, Raven Slingshot, Stara and/or Trimble.
If you’d rather create your own boundaries instead of pulling them from a provider, after you complete step 1-5 of this tutorial, you can head to the Field Boundary Endpoints documentation for more details.
Summary
- 1. Register for a Leaf account
- 2. Authenticate to access Leaf’s API
- 3. Create a Leaf user
- 4. Set up configurations (optional but recommended)
- 5. Set up alerts/webhooks (optional but recommended)
- 6. Integrate providers
- 7. Understand what to expect once integrated
- 8. Structure and get grower/farm/field/boundary data
1. Register for a Leaf account
First, you’ll need to register for a Leaf account. If you don’t yet have an account you can register below. Make sure to activate your account via the activation email.
2. Authenticate to access Leaf’s API
Next, you’ll need to authenticate by requesting your access token:
3. Create a Leaf user
Next, you’ll need to create a ‘Leaf user’.
What is a Leaf user? A Leaf user represents a data owner and is equivalent to a customer/grower account. A Leaf user helps keep your customers’ data organized under your API owner.
You can organize & filter data by leaf_user_id directly within Leaf and attach 3rd party API credentials to leaf_users to manage their individual account access.

Your Leaf account includes a sample leaf_user with pre-loaded data for testing. Let's find that leaf_user & associated leaf_user_id by querying for all Leaf users in the account as shown below:
In the previous step we set the leaf_user as the sample user. If you want to use a different user, you have the option to create a new Leaf user and set the user ID as shown below.
4. Set up configurations (optional but recommended)
Make sure to review and set your configurations according to your needs. Setting this up now will save you from getting stuck later.
5. Set up alerts/webhooks (optional but recommended)
By setting up alerts through Leaf, you can be notified when something happens or changes instead of repeatedly querying for changes.
6. Integrate providers
There are 3 ways to integrate providers: Leaf Magic Link, Leaf Link for provider connection or custom. The option you choose depends on how easily you want to get set up vs how much you want to customize your front-end design.
Option A: Magic Link

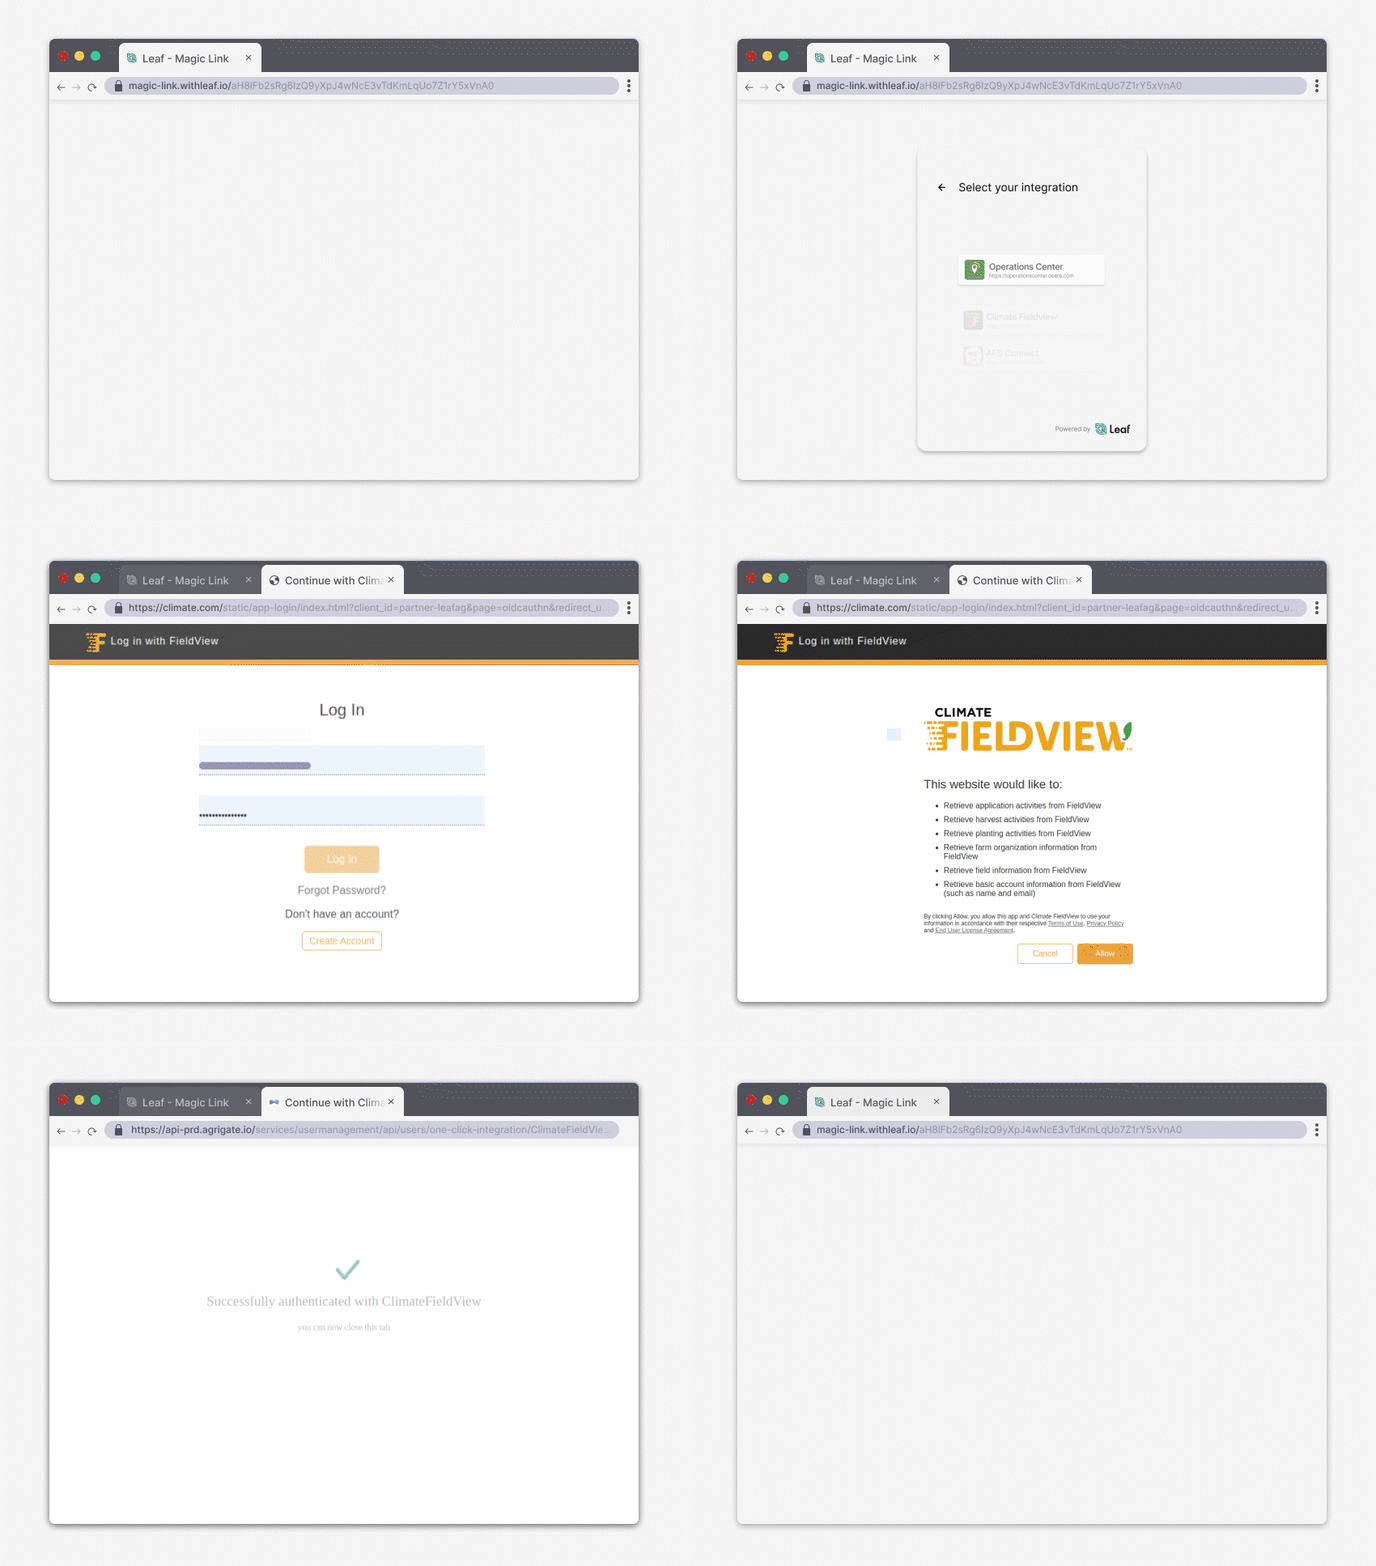
This is the easiest way to set up provider authentication as it requires no front-end coding. Simply send a URL to growers to authenticate with their providers.
Leaf Magic Link uses your application credentials to do the authentication, so you first need to inform it of your desired providers using our set up endpoints.
Then, simply create the Magic Link here:
Option B: Leaf Link for provider connection

With Leaf Link, you can embed a pre-built widget into your application. Similar to Magic Link, all the back-end Leaf user management is handled for you, saving you some steps. You may want to consider this option instead of Magic Link if you want to keep the interface within your application (not via a separate URL).
Get started with Leaf Link for provider connection -->
Option C: Custom
This is the most customizable option if you want to build your own interface, but it has more steps than Leaf Link. The instructions on how to authenticate will be different per provider, so it’s important to follow each one specifically. By the end, you will have successfully linked the provider to Leaf so you can start pulling boundaries from customer accounts.
↓ Click on a provider below and follow the steps to authenticate ↓
- AgLeader tutorial
- Climate FieldView tutorial
- CNHi tutorial
- John Deere tutorial
- Raven Slingshot tutorial
- Stara tutorial
- Trimble tutorial
7. Understand what to expect once integrated
You’re now ready to receive grower/farm/field data! Here's what to expect once a Leaf user is integrated:
- You should start to see boundaries within minutes.
- The data sync process will aggregate, search and consequently update the resources present for the account associated with the credential registered in the Leaf User.
- As it is an asynchronous process, the user has no control over the resources acquired from the account (we always fetch 100% from the farmers account data).
- For each data provider connected, different resources (e.g. boundaries and operations) can be aggregated. We recommend handling and monitoring these resources using the Alerts service mentioned in step 5.
8. Structure and get grower/farm/field/boundary data
We've created a sample LeafUser in your account and populated it with sample data. You already got the LeafUser ID in step 3. Now here's how to get their fields:
Next, you can get field boundaries, farm and grower for the Leaf User:
You'll want to organize the hierarchy of field data. Fields are the main entity for organizing/attaching more agricultural data; fields belong to farms and farms belong to growers. Here's how to structure the field data hierarchy:
Excellent, you're all set! You’ve now set up field boundaries via Leaf’s unified API.
View documentation for more on field boundary management -->
If you have any further questions, please don't hesitate to send us an email at help@withleaf.io.
Where to next?
--> Magic Link--> Manual File Upload --> Crop Monitoring --> Input Validator --> Back to 'for developers'
