About
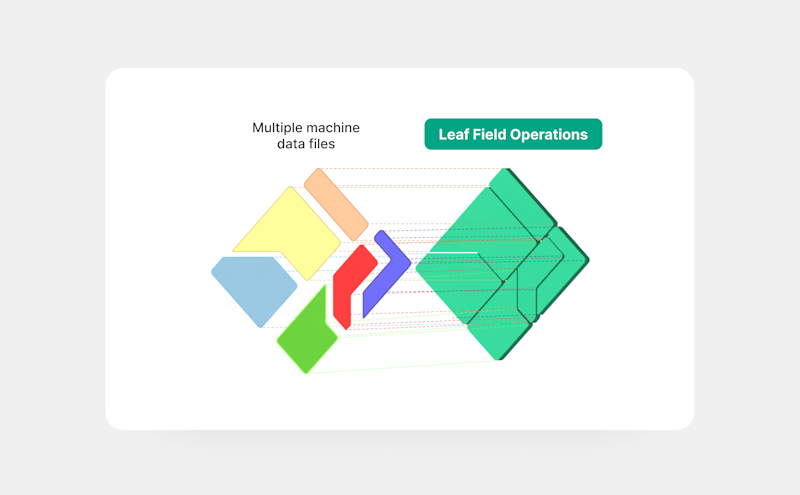
In this tutorial, we’ll show you how to set up field operations with Leaf’s unified API in preparation for production. Leaf translates and merges raw machine files from multiple machine providers and turns them into standardized field operations. This includes planting, application, harvest and tillage. Note if you have already completed the field boundary or manual file upload tutorials, you can skip straight to step 7.
Why integrate operations through Leaf instead of going direct to providers?
- Receive clean operations data, translated to a consistent format
- Increase speed to market by skipping the need to build backend infrastructure
- Provide integrations from many different providers to increase your addressable market
- Less ongoing API maintenance
To learn more about the benefits, click here.
Summary
- 1. Register for a Leaf account
- 2. Authenticate to access Leaf’s API
- 3. Create a Leaf user
- 4. Set up configurations
- 5. Set up alerts/webhooks (optional but recommended)
- 6. Integrate providers
- 7. Understanding Leaf Operations
- 8. Get Field Boundary data to create your Field Operations data
- 9. Check your Field Operations
1. Register for a Leaf account
First, you’ll need to register for a Leaf account. If you don’t yet have an account you can contact our experts that will guide you through the process.
2. Authenticate to access Leaf’s API
Next, you’ll need to authenticate by requesting your access token:
| import requests | |
| url = "https://api.withleaf.io/api/authenticate" | |
| data = {'username':'your email', 'password':'your password', 'rememberMe':'true'} | |
| headers = {'Content-Type': 'application/json'} | |
| response = requests.request("POST", url, headers=headers, json=data) |
3. Create a Leaf user
Next, you’ll need to create a ‘Leaf user’.
What is a Leaf user? A Leaf user represents a data owner and is equivalent to a customer/grower account. A Leaf user helps keep your customers’ data organized under your API owner.
You can organize & filter data by leaf_user_id directly within Leaf and attach 3rd party API credentials to leaf_users to manage their individual account access.

Your Leaf account includes a sample leaf_user for testing. Let's find that leaf_user & associated leaf_user_id by querying for all Leaf users in the account as shown below:
| # Get all leaf_users in an account (with pagination) | |
| def get_all_leaf_users(page_size=20): | |
| all_users = [] | |
| page = 0 | |
| endpoint = 'https://api.withleaf.io/services/usermanagement/api/users' | |
| headers = {'Authorization': f'Bearer {TOKEN}'} | |
| while True: | |
| params = {'page': page, 'size': page_size} | |
| response = requests.get(endpoint, headers=headers, params=params) | |
| if response.status_code != 200: | |
| return None | |
| all_users.extend(response.json()) | |
| if len(all_users) >= int(response.headers.get('X-Total-Count', 0)): | |
| return all_users | |
| page += 1 | |
| # Get the sample user and set leaf_user to the sample user | |
| leaf_users = get_all_leaf_users() | |
| for user in leaf_users: | |
| if user['name'] == 'Sample User': | |
| leaf_user_id = user['id'] |
In the previous step we set the leaf_user as the sample user. If you want to use a different user, you have the option to create a new Leaf user and set the user ID as shown below.
| #Set the leaf_user_id | |
| leaf_user_id = '' |
4. Set up configurations
Make sure to review and set your configurations according to your needs. Setting this up now will save you from getting stuck later.
5. Set up alerts/webhooks (optional but recommended)
By setting up alerts through Leaf, you can be notified of new data and updates instead of repeatedly querying for changes.
6. Integrate providers
There are 3 ways to integrate providers: Leaf Magic Link, Leaf Link or manual. The option you choose depends on how quickly and what form you want to get authentication to your end user.
Option A: Magic Link

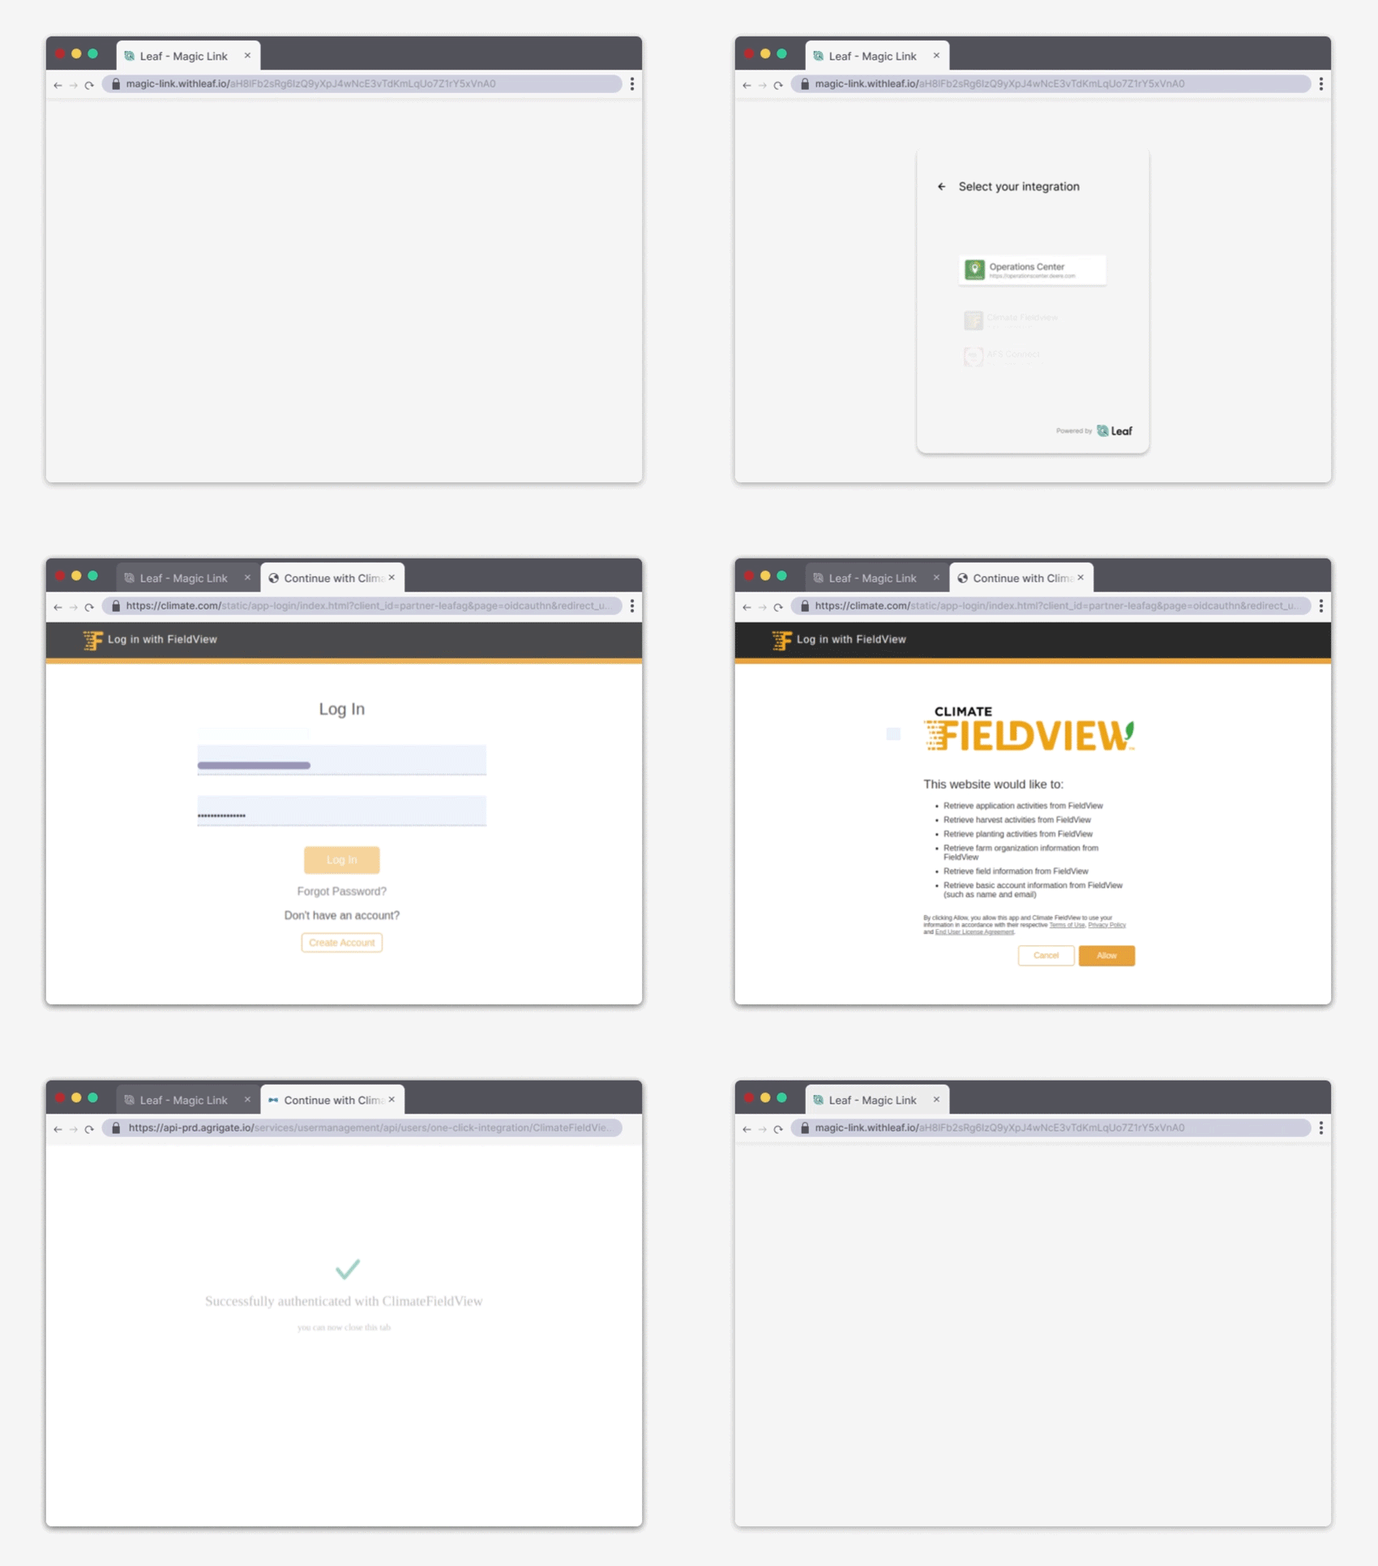
This is the easiest way to set up provider authentication as it requires no front-end coding. Simply send a URL to growers to authenticate with their providers.
Leaf Magic Link uses your application credentials to do the authentication, so you first need to inform it of your desired providers using our set up guides.
Then, simply create the Magic Link:
| def create_a_provider_magic_link(leafUserId): | |
| endpoint = f'https://api.withleaf.io/services/widgets/api/magic-link/users/{leafUserId}/provider' | |
| headers = {'Authorization': f'Bearer {TOKEN}'} | |
| data = { | |
| "expiresIn": 900, | |
| "settings": { | |
| "backgroundColor": "#2ECC71", | |
| "headerImage": "URL", | |
| "companyLogo": "URL", | |
| "companyName": "companyName" | |
| } | |
| } | |
| response = requests.post(endpoint, headers=headers, json=data) | |
| return response.json() | |
| create_a_provider_magic_link(leafUserId) |
This setup will make you compatible with all providers that you connected by default. If you want to filter to specific providers, you can use the "allowedProviders" parameter. E.g if you only want to allow John Deere and Climate FieldView, add this: "allowedProviders": ["JohnDeere", "ClimateFieldView"]. Remember the provider set up is still required to enable them.
There is also another option with a different layout for a single provider authentication, check the authentication option here.
Option B: Leaf Link

With Leaf Link, you can embed a pre-built widget into your application. Similar to Magic Link, all the back-end Leaf user management is handled for you, saving you some steps. You may want to consider this option instead of Magic Link if you want to keep the interface within your application (not via a separate URL).
Get started with Leaf Link for provider connection -->
Option C: Manual
This is the most customizable option if you want to build your own interface, it has more steps than Leaf Link. The instructions on how to authenticate will be different per provider, so it’s important to follow each one specifically. By the end, you will have successfully linked the provider to Leaf so you can start pulling boundaries from customer accounts.
↓ Click on a provider below and follow the steps to authenticate ↓
- AgLeader tutorial
- Climate FieldView tutorial
- CNHi tutorial
- John Deere tutorial
- Raven Slingshot tutorial
- Stara tutorial
- Trimble tutorial
7. Understanding Leaf's Operations
It’s important to understand the following definitions before proceeding.
Machine file summary: Basic information of files derived from the point data, processed and cleaned by Leaf, in Leaf’s standardized output. Data outputs will vary by the type of task performed (planted, applied, harvested, tillage). You’ll find some sample responses here.
Operations: Field Operations data files merged based on task, time and boundary intersection (planting, application, harvest, tillage).
Operation summary: The output of merged files (Leaf Operations) geospatially attached to a field boundary, that are processed and cleaned by Leaf. Operations only form if there are boundaries present. You’ll find some sample responses here.
8. Get field boundary data to create your Field Operations data
There are 2 ways to get field boundary data, which is required for the geospatial matching of an operation:
Option A. Import boundaries from providers. If you want to use the field boundaries from the provider, you can head straight to the next step as you’ve already connected this data in step 6.
Option B. Use your own boundaries. Send POST requests to create field boundaries; you’ll find more details in the Field Boundary Management Endpoints doc.
9. Check your field operations
Once you have boundaries in Leaf and your machine files have been converted into Leaf's standard format, Leaf will automatically merge machine files into operations based on a few configurations you set up earlier. This merging process runs once every 4 hrs. Once all of the processing is completed (operationsProcessingFinished alert) you can fetch your operations using the following endpoints:
| def get_all_field_operations(leaf_user_id=None): | |
| endpoint = 'https://api.withleaf.io/services/operations/api/operations' | |
| if leaf_user_id: | |
| endpoint += f"?leafUserId={leaf_user_id}" | |
| headers = {'Authorization': f'Bearer {TOKEN}'} | |
| response = requests.get(endpoint, headers=headers) | |
| return response.json() | |
| operations = get_all_field_operations() | |
| if operations: | |
| print(operations) | |
| else: | |
| print('No Field Operations created yet.') |
Note that you can also filter it by Leaf user.
If the Field Operations are not available yet, try again after the processing time.
It's also important to note that Leaf requires at least one operation before proceeding.
For each field operation, you can see the important properties, like:
| operation = operations[0] | |
| operation_id = operation['id'] | |
| # Despite being an array, a Field Operation will be associated with only 1 field | |
| field_id = operation['fields'][0]['id'] | |
| file_ids = operation['files'] |
With these properties, you can get extra information, like the field boundary, summary, and the Standard GeoJSON:
Field Operation summary
| def get_a_field_operation_summary(operation_id): | |
| endpoint = f'https://api.withleaf.io/services/operations/api/operations/{operation_id}/summary' | |
| headers = {'Authorization': f'Bearer {TOKEN}'} | |
| response = requests.get(endpoint, headers=headers) | |
| return response.json() | |
| operation_summary = get_a_field_operation_summary(operation_id) | |
| print(operation_summary) |
Field Operation Standard GeoJSON
| def get_a_field_operation_stdgeojson(operation_id): | |
| endpoint = f'https://api.withleaf.io/services/operations/api/operations/{operation_id}/standardGeojson' | |
| headers = {'Authorization': f'Bearer {TOKEN}'} | |
| response = requests.get(endpoint, headers=headers) | |
| return response.json() | |
| std_geojson = get_a_field_operation_stdgeojson(operation_id) | |
| print(std_geojson) |
Leaf’s API also offers a filtered GeoJSON which lets you add more clean-up criteria. You can find more information here. The Filtered GeoJSON makes our image (V2) functionality available which creates images based on the operation properties. Here is how you can get them:
| def get_field_operation_images(operation_id): | |
| endpoint = 'https://api.withleaf.io/services/operations/api/operations/{id}/imagesV2' | |
| headers = {'Authorization': f'Bearer {TOKEN}'} | |
| response = requests.get(endpoint, headers=headers) | |
| return response.json() | |
| images = get_field_operation_images(operation_id) |
In the endpoint response, you will find an image per each numerical property and a legend with the values. This is what a V2 image looks like.

Excellent, you’ve now set up field operations. Where to next?
--> Get help from the Leaf team --> Field Boundaries --> Manual File Upload --> Crop Monitoring --> Back to the page for developers
